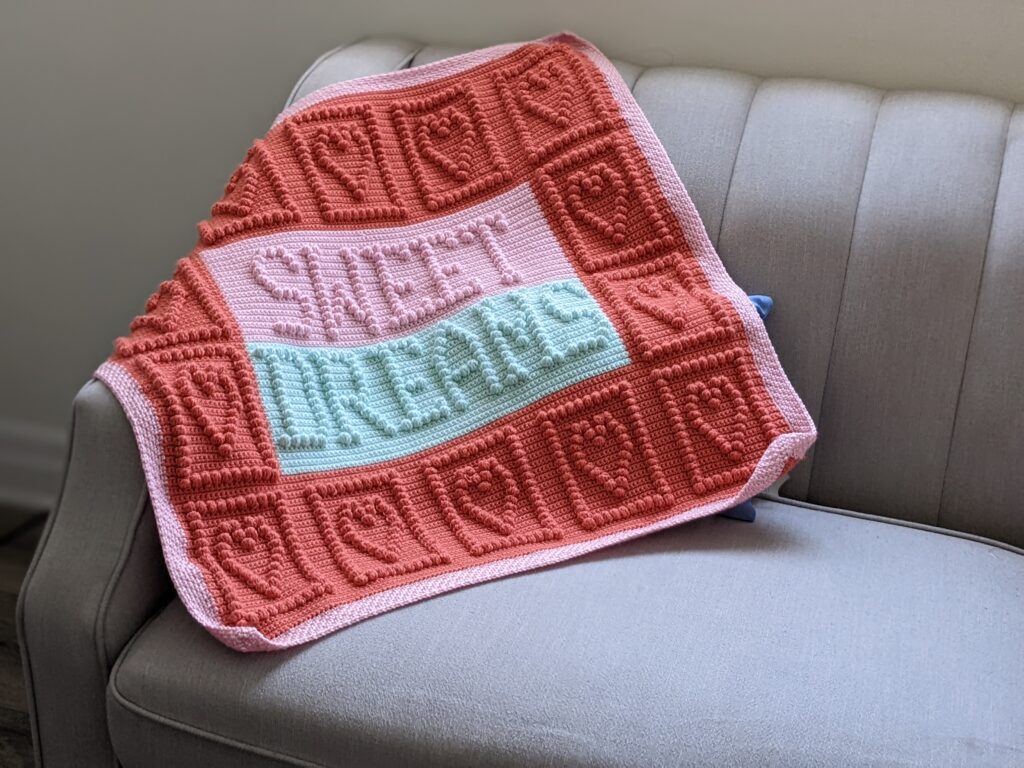
Hey makers, great job getting to this part and I am sure you feel a sense of joy and pride in your work so far, you are going to be even more pleased when you finish this crochet blanket and look at what you have made with just some yarn and a hook. So lets get to work on the last part of this blanket and make a cute border to finish it off.
Btw Part-1 has all the details of the supplies you need, size of this blanket and everything else you need to know before hooking up with this pattern so please find the Part-1 of this pattern right here >> PART 1
For my lovely YouTube fam and for all visual learners I have an entire playlist showing you the row by row pattern so head over to my YOUTUBE channel – check it out and lets get hooked 
And here’s the pattern and graph for the last part of this blanket.
Pattern For Rows 115 – 151
Row 115 : ch1 & turn | 3sc | {(1bob | 1sc) x 9 | 1bob | 7sc } x 4| (1bob | 1sc) x 9 | 1bob | 4sc
Row 116 : ch1 & turn | 130sc
Row 117 : ch1 & turn | 3sc | (1bob | 17sc | 1bob | 7sc) x 4 | 1bob | 17sc | 1bob | 4sc
Row 118 : ch1 & turn | 130sc
Row 119 : ch1 & turn | 3sc | (1bob | 17sc | 1bob | 7sc) x 4 | 1bob | 17sc | 1bob | 4sc
Row 120 : ch1 & turn | 130sc
Row 121 : ch1 & turn | 3sc | (1bob | 8sc | 1bob | 8sc | 1bob | 7sc) x 4 | 1bob | 8sc | 1bob | 8sc | 1bob | 4sc
Row 122 : ch1 & turn | 130sc
Row 123 : ch1 & turn | 3sc | (1bob | 7sc | 1bob | 1sc | 1bob | 7sc | 1bob | 7sc) x 4 | 1bob | 7sc | 1bob | 1sc | 1bob | 7sc | 1bob | 4sc
Row 124 : ch1 & turn | 130sc
Row 125 : ch1 & turn | 3sc | (1bob | 6sc | 1bob | 3sc | 1bob | 6sc | 1bob | 7sc) x 4 | 1bob | 6sc | 1bob | 3sc | 1bob | 6sc | 1bob | 4sc
Row 126 : ch1 & turn | 130sc
Row 127 : ch1 & turn | 3sc | (1bob | 5sc | 1bob | 5sc | 1bob | 5sc | 1bob | 7sc) x 4 | 1bob | 5sc | 1bob | 5sc | 1bob | 5sc | 1bob | 4sc
Row 128 : ch1 & turn | 130sc
Row 129 : ch1 & turn | 3sc | (1bob | 4sc | 1bob | 7sc | 1bob | 4sc | 1bob | 7sc ) x 4 | 1bob | 4sc | 1bob | 7sc | 1bob | 4sc | 1bob | 4sc
Row 130 : ch1 & turn | 130sc
Row 131 : ch1 & turn | 3sc | (1bob | 3sc | 1bob | 9sc | 1bob | 3sc | 1bob | 7sc) x 4 | 1bob | 3sc | 1bob | 9sc | 1bob | 3sc | 1bob | 4sc
Row 132 : ch1 & turn | 130sc
Row 133 : ch1 & turn | 3sc | (1bob | 3sc | 1bob | 9sc | 1bob | 3sc | 1bob | 7sc ) x 4| 1bob | 3sc | 1bob | 9sc | 1bob | 3sc | 1bob | 4sc
Row 134 : ch1 & turn | 130sc
Row 135 : ch1 & turn | 3sc | (1bob | 3sc | 1bob | 4sc | 1bob | 4sc | 1bob | 3sc | 1bob | 7sc ) x 4 | 1bob | 3sc | 1bob | 4sc | 1bob | 4sc | 1bob | 3sc | 1bob | 4sc
Row 136 : ch1 & turn | 130sc
Row 137 : ch1 & turn | 3sc | (1bob | 4sc | 1bob | 2sc | 1bob | 1sc | 1bob | 2sc | 1bob | 4sc | 1bob | 7sc ) x 4 | 1bob | 4sc | 1bob | 2sc | 1bob | 1sc | 1bob | 2sc | 1bob | 4sc | 1bob | 4sc
Row 138 : ch1 & turn | 130sc
Row 139 : ch1 & turn | 3sc | (1bob | 5sc | bob-ch-bob | 3sc | 2bob | 5sc | 1bob | 7sc ) x 4 | 1bob | 5sc | 2bob | 3sc | bob-ch-bob | 5sc | 1bob | 4sc
Row 140 : ch1 & turn | 130sc
Row 141 : ch1 & turn | 3sc | (1bob | 17sc | 1bob | 7sc) x 4 | 1bob | 17sc | 1bob | 4sc
Row 142 : ch1 & turn | 130sc
Row 143 : ch1 & turn | 3sc | (1bob | 17sc | 1bob | 7sc) x 4 | 1bob | 17sc | 1bob | 4sc
Row 144 : ch1 & turn | 130sc
Row 145 : ch1 & turn | 3sc | {(1bob | 1sc) x 9 | 1bob | 7sc } x 4| (1bob | 1sc) x 9 | 1bob | 4sc
Row 146, 147, 148, 149, 150, 151 : ch1 & turn | 130sc
Pattern For The Border
Border rows are worked all around 4 sides without turning the work. Make sure that the right side of the blanket is facing you while you work on the border.
The border rows are usually an opportunity for you to customize the size of your blanket and you can use any stitch you wish – I made a few rows of the moss stitch in the pink color until I was happy with the size, here’s what you need to do to get the same look.
Row 1, 2 : sc in every stitch on all 4 sides – when you get to the corner stitch make (sc | chain 2 | sc) to get clean edges and start working on the next side.
Row 3 : sc|ch1| skip a stitch | sc – all around the 4 edges – when you get to the corner stitch make (sc | chain 2 | sc) to get clean edges and start working on the next side.
Row 4 : sc | ch1 |sc in the next ch – all around the 4 edges – when you get to the corner stitch make (sc | chain 2 | sc) to get clean edges and start working on the next side.
Subsequent rows : Repeat Row 4 until you are happy with the size of the border and your blanket.
In the end make a row of chain stitches in every stitch. This last row of chain stitches gave my work very clean edges and then of course weave in all the loose ends and you are officially done with this project.
Graph for Rows 115 – 151 :
- The yellow cells represent Single crochet stitched (sc)
- The blue cells represent bobble stitches
- You will see the row # in the first and last column, only odd rows are represented here since for every even row you will make 130 sc.
- Read the graph from left to right.

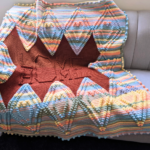
CONGRATULATIONS – aren’t you proud of your work. I bet you are hooked on to bobble stitch projects so let’s not break the streak and I am going to show you another very simple and elegant baby blanket pattern – BOBBLE STITCH DIAMONDS CROCHET BABY BLANKET PATTERN – so head over to your next awesome project as soon as you done with this one. ❤️❤️❤️❤️
Take care, happy hooking!!!
-Anjana